Home Page
Tasks Module
TABLE OF CONTENTS
- Creating and Managing Tasks
- Inline Editing
- Task Actions
- Assigning Tasks
- Task Dependencies
- Subtasks
- Bulk Actions
- Importing and Exporting Tasks
- Task Views
The Tasks module in Screendragon provides a powerful and flexible way to create, manage, assign, and track tasks within a project. Whether you're coordinating individual responsibilities or managing a complex project schedule, this module helps your team stay organized and aligned.
Tasks can be accessed directly in the Tasks module or through the Resource Planner, and they can be reused in future projects by saving them as part of a project template.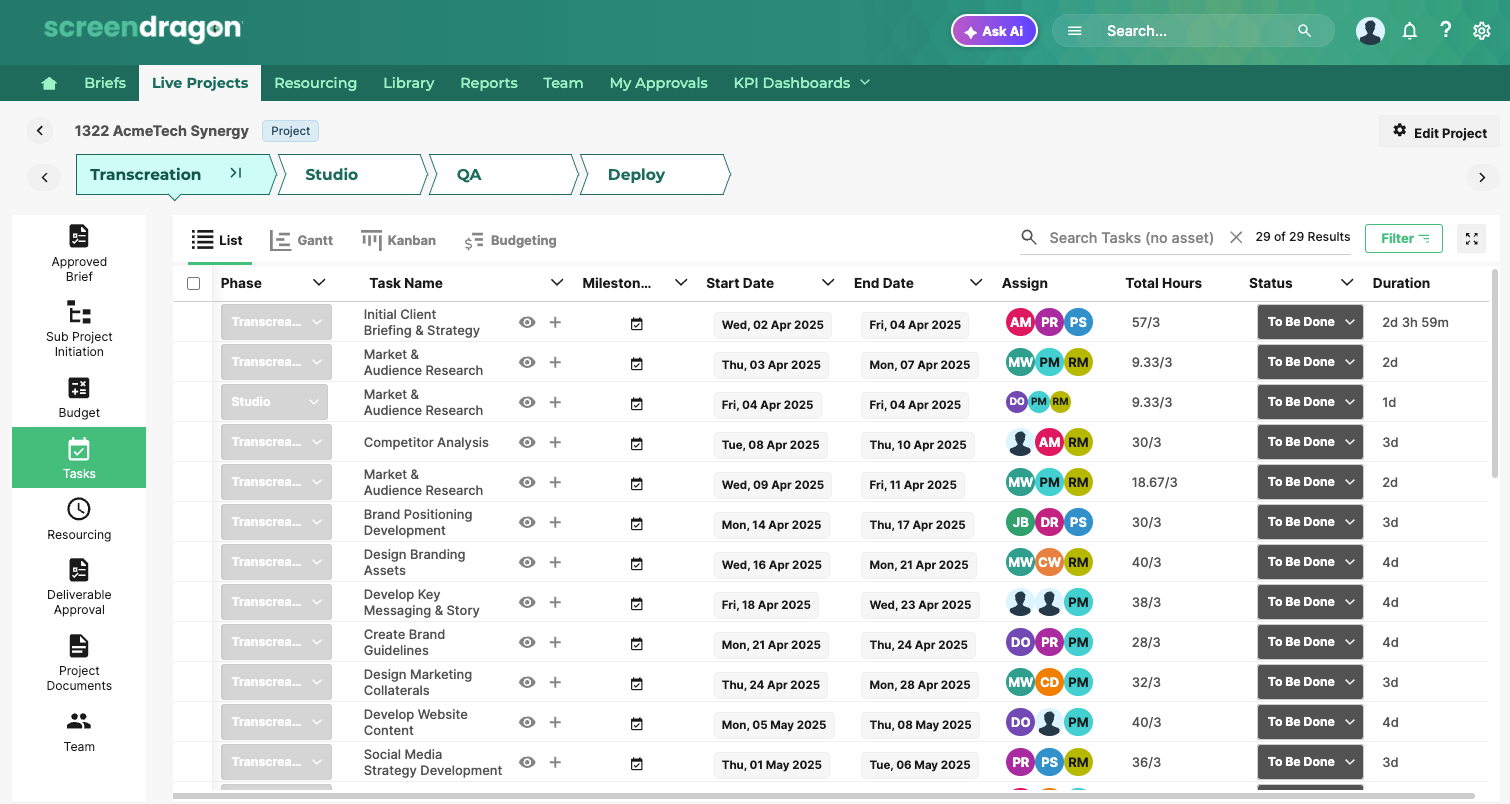
Creating and Managing Tasks
Add a New Task
To create a new task within a project:
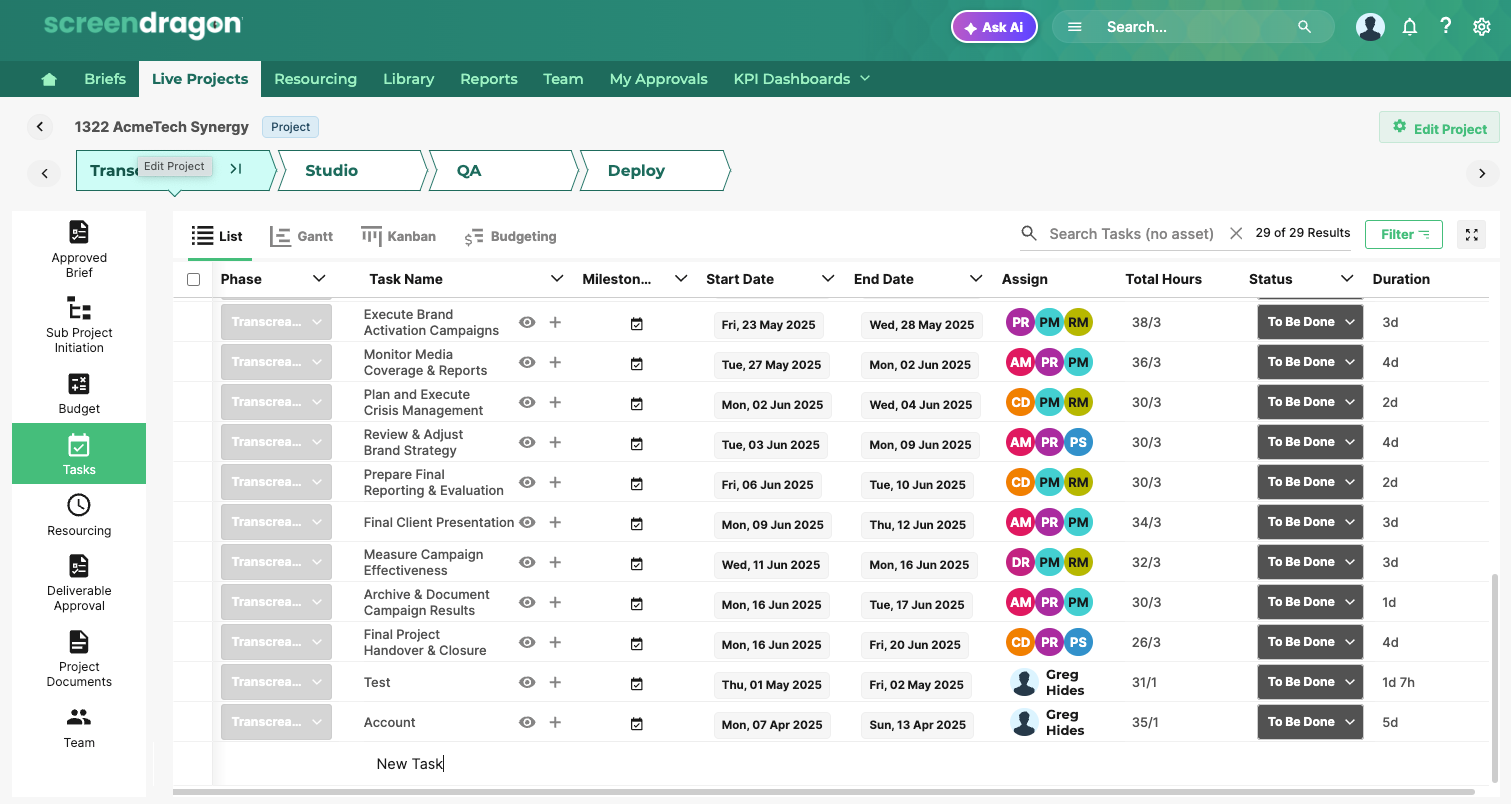
Navigate to the Tasks module.

Click + Add.
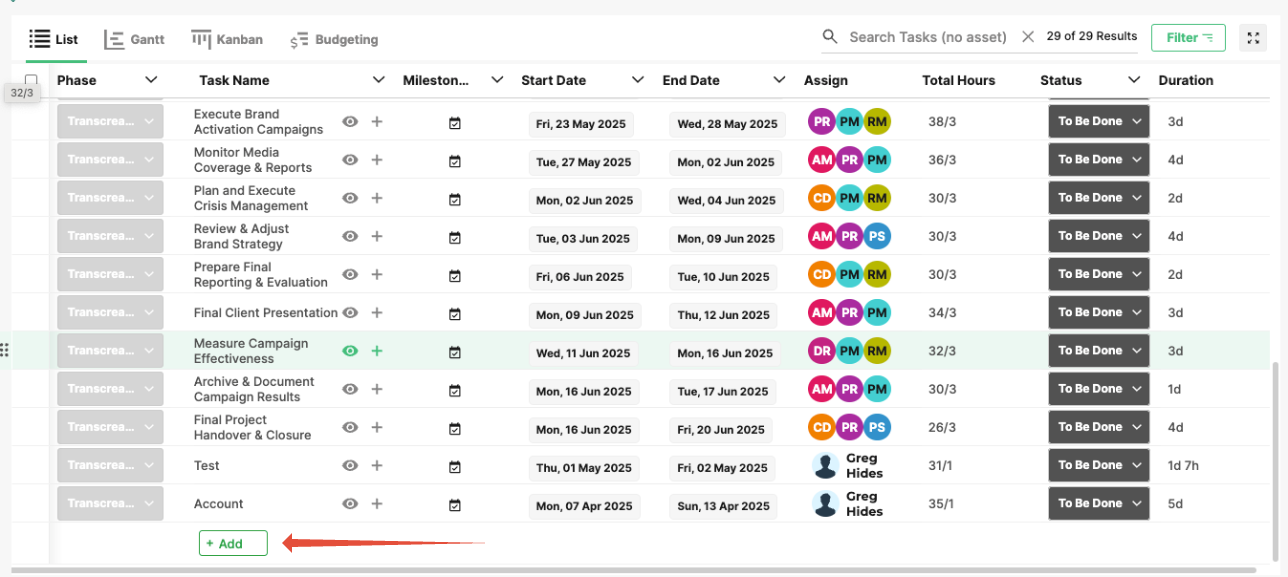
Enter the task name in the Add New Task line.
Click the eye icon beside the task to open the task details pane on the right.

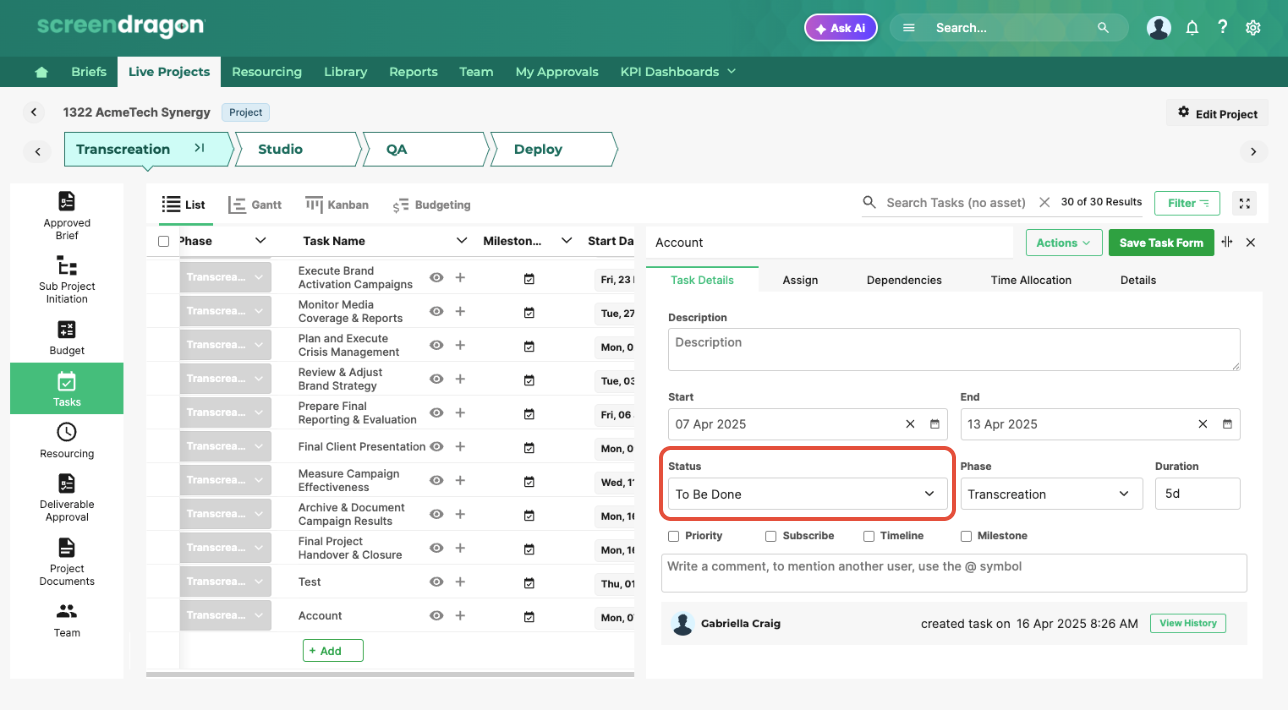
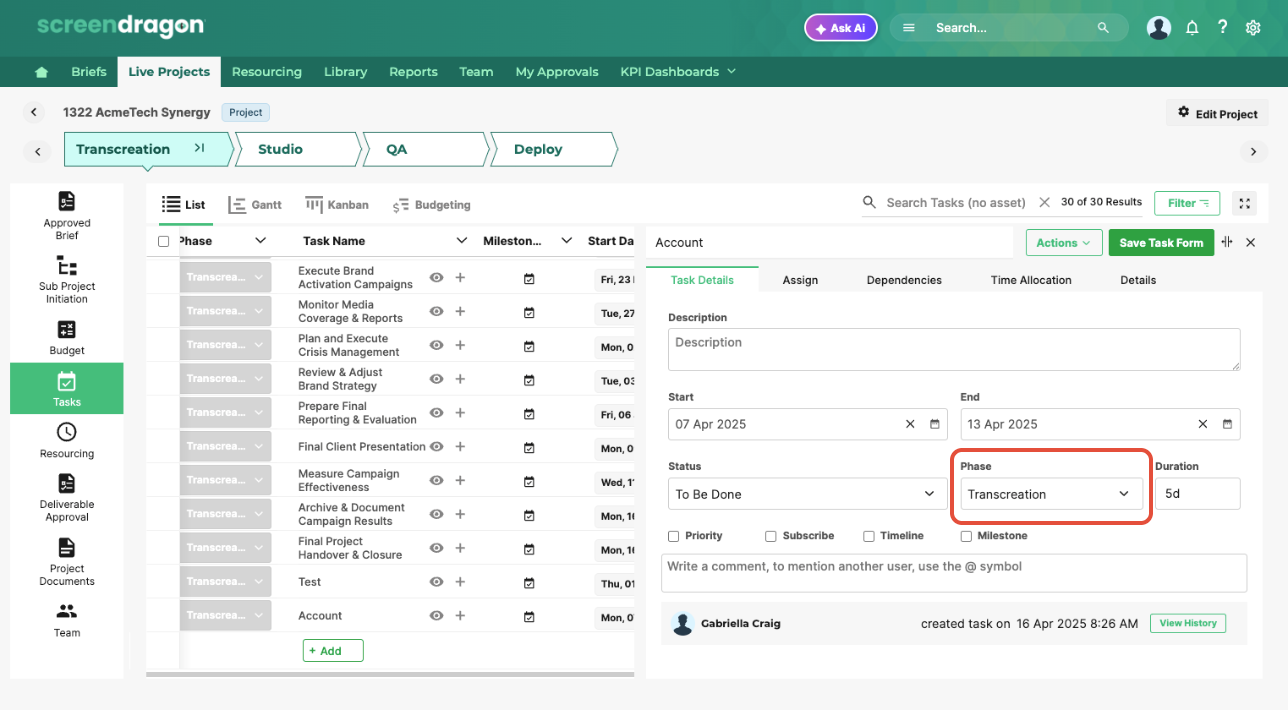
Task Details
Each task can include the following information:
Name: Title of the task.

Description: Brief details about the task.
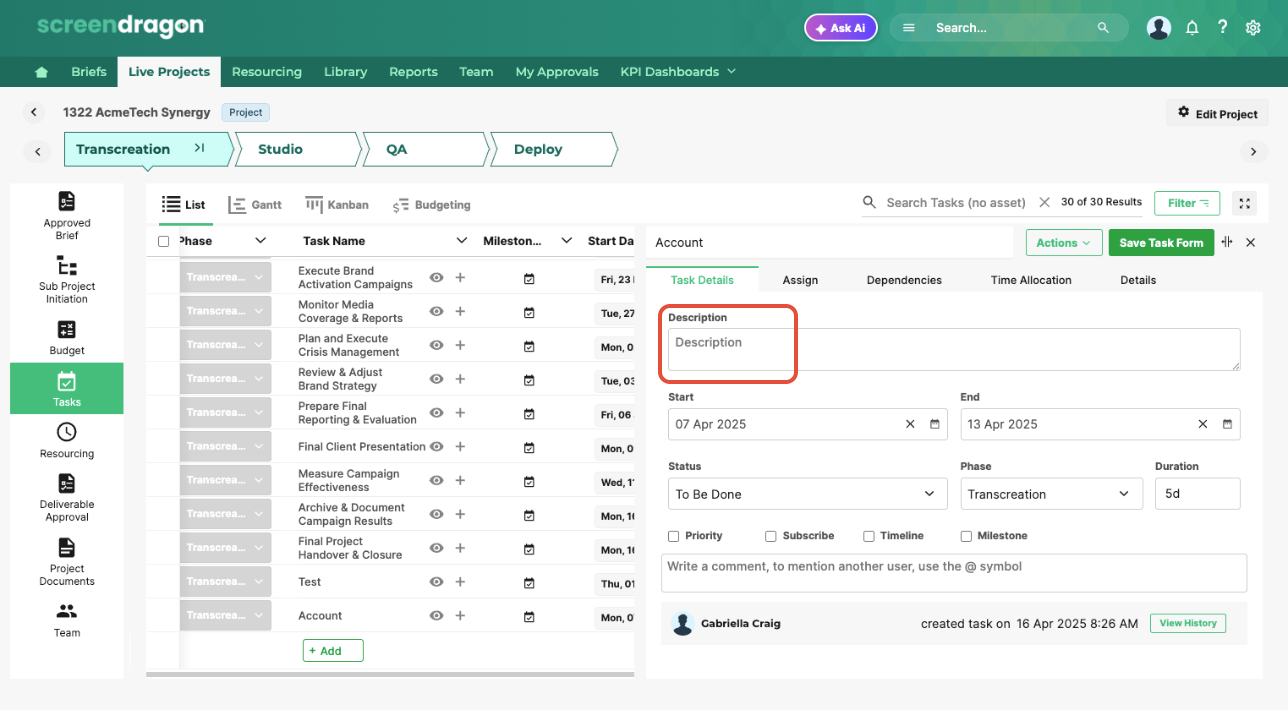
Start / End Dates: The timeframe for the task.

Status: Track progress (e.g., Not Started, In Progress, Completed).
Phase: The project phase the task belongs to.
Duration: Total time the task should take.

Priority: Highlight essential tasks with a flag and a red icon on Outlook notifications.

Subscribe: Enable alerts for task status changes.

Milestone: Mark this task as a milestone for your project.
View History: See task change history.

Tip: Enable email notifications in your user profile to get alerts when tasks are assigned to you.
Inline Editing
Update task fields directly from the task list view:
Click the field (e.g., name, start date, phase) you want to edit.
Make changes inline without opening the details pane.
Task Actions
Use the Bulk Actions button (top-right) to perform advanced task management:
Delete Task
Copy Task (with optional assignee copy)
Set Recurrence
Split Task
Add Attachment
Send Notification
Set Task Over the Weekend

Assigning Tasks
In the Assign tab of the task details, assign tasks to individual users, groups, or roles.
The Time Allocation tab allows you to decide how the task time should be allocated, i.e., as a percentage, an average, or a total number of hours.
Click on the Assign button to select from the list of available users.
Use the Time Allocation tab to allocate time as:
A percentage
An average
The total number of hours

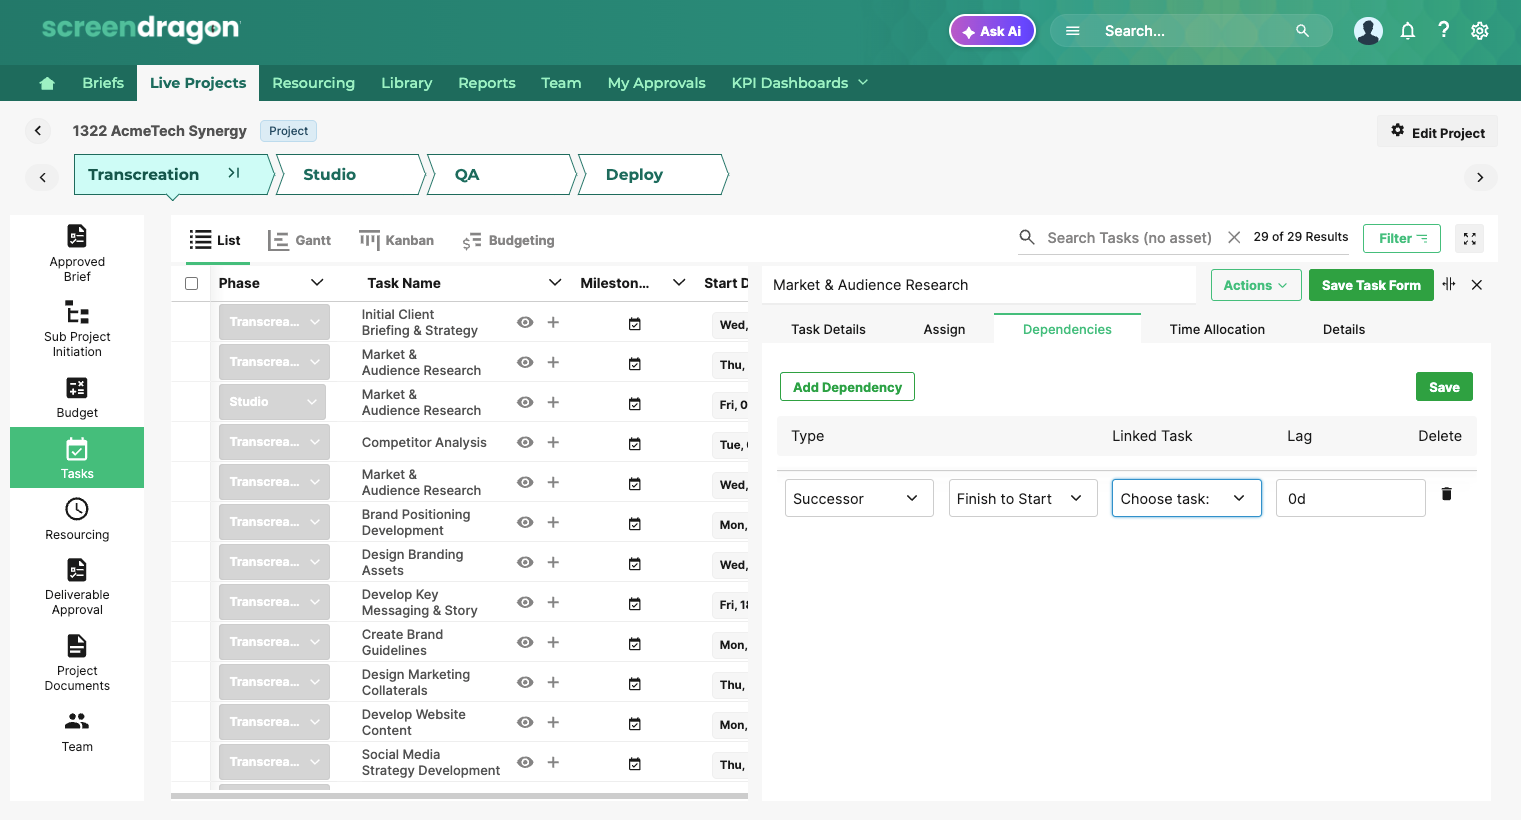
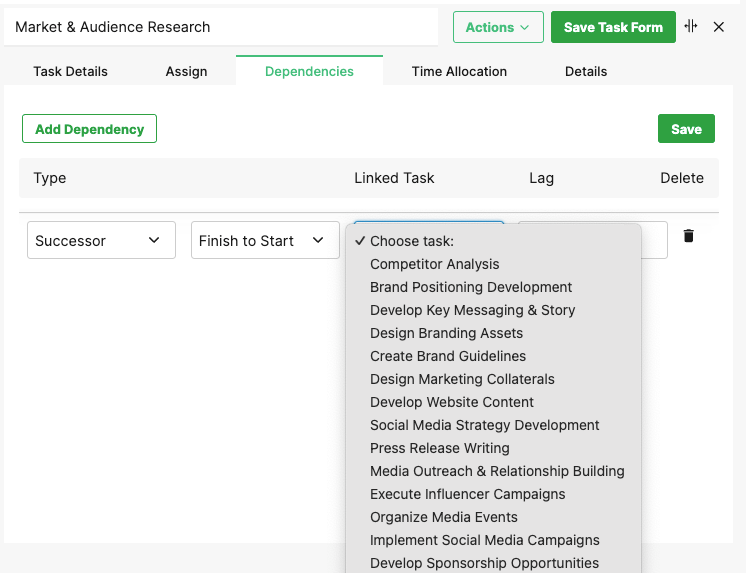
Task Dependencies
In Screendragon, dependencies can be:
Set manually using task IDs or task names
Visualized in Gantt View
Managed through the task details pane or task list
Dependencies dynamically adjust task schedules—any changes to a predecessor automatically update the timeline of its successors.
Task Type: A predecessor is a task that must be completed before another task can begin. It directly influences the start or finish of a related task. A successor is a task that depends on the completion of a previous task (its predecessor) before it can start or finish.

Task Dependencies describe the relationship between two or more tasks in a project, where the start or completion of one task relies on the start or completion of another. These relationships help define the sequence and timing of tasks, ensuring that work progresses in a logical and efficient order.
Finish-to-Start – The most common type. The successor task cannot start until the predecessor task is completed. Example: “Design must finish before Development can start.”
Start-to-Start – The successor task cannot start until the predecessor task starts. Example: “Testing can begin once the code deployment starts.”
Finish-to-Finish – The successor task cannot finish until the predecessor task is completed. Example: “Documentation cannot be completed until QA testing finishes.”
Start-to-Finish – Rare. The successor task cannot finish until the predecessor task starts.
Example: “An old system cannot be decommissioned until the new system starts.”
Linked Tasks: Linked tasks are connected through a dependency relationship, meaning the start or finish of one task directly affects the scheduling of another. Linking tasks helps define the order in which work should be completed and ensures that changes to one task automatically update the timing of related tasks.
Lag: refers to the intentional delay between two linked tasks in a project schedule. It is the amount of time that must pass after a predecessor task finishes (or starts) before its successor task can begin or continue.
Lag is typically used to model real-world delays such as curing time, review periods, or wait times between activities.
Subtasks
Sub-tasks inherit constraints from their parent tasks and cannot violate those start/end limits.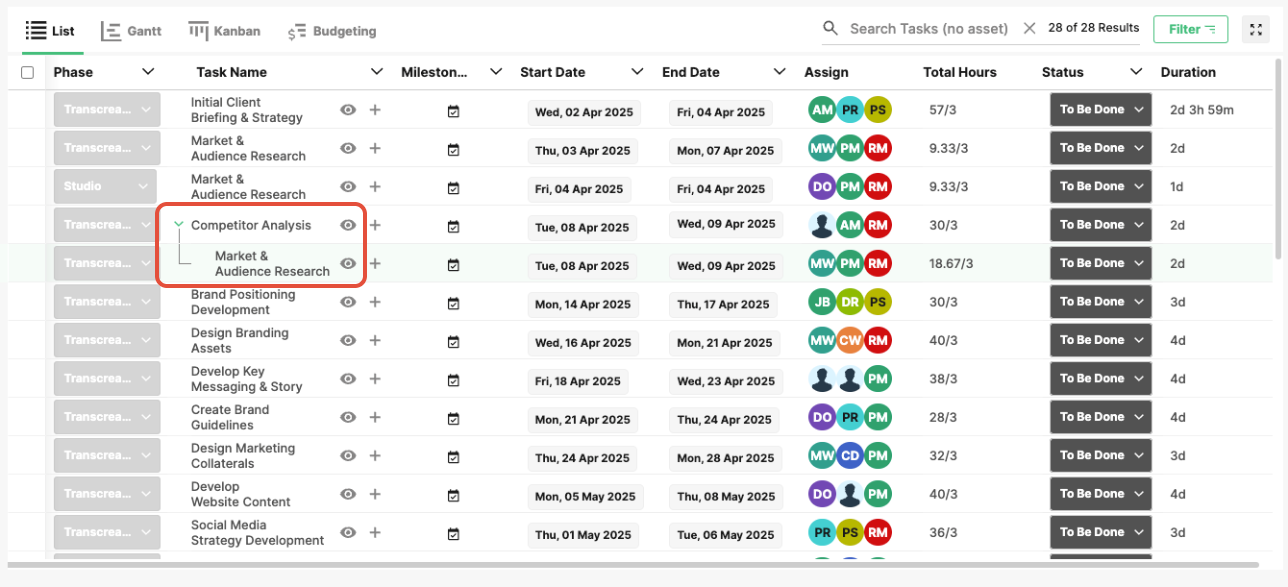
Subtasks are set up in any of the following ways.
Via the task details pane as described above.
In the task list, use task indent under Bulk Actions.

In the Gantt view, you can click and link tasks.

Bulk Actions
Use the checkboxes to multi-select tasks and choose from the Bulk Action menu:
Mark as Complete: This updates the task status and removes them from any active task views or filters based on incomplete status.
Allocate: Assigns multiple tasks to a selected user in bulk. You can apply the same user allocation, time, or role to several tasks at once, streamlining assignment across a project.
Assign Unresourced Tasks: Automatically assigns all unassigned (unresourced) tasks to suggested users based on availability, role, or skill matching. This is particularly useful in the Resource Planner for quickly filling scheduling gaps.
Delete Tasks: Permanently removes the selected tasks and all associated data (e.g., assignees, dates, dependencies). Use with caution, as deleted tasks cannot be recovered without administrative intervention.
Copy Tasks: Duplicates the selected tasks. You’ll have the option to also copy assignees and other task attributes. Useful for reusing similar tasks across phases or projects.
Link: Creates zero-delay finish-to-start dependencies between the selected tasks. This means each task must be completed before the next one begins, with no delay in between.
Unlink: Removes existing dependencies between the selected tasks. Once unlinked, tasks can be scheduled independently of one another.
Indent: Creates a sub-task relationship by indenting the selected task beneath the task above it. This also creates a dependency in which the indented task cannot start until the parent task begins or completes, depending on the configuration.
Outdent: Removes a sub-task relationship, promoting the task to a higher level. It can also break the dependency on the task above or create a new parent task, depending on the project structure.
Export to Excel: Exports the selected task list, including task details, to a structured Excel (.xlsx) spreadsheet. Useful for reporting, backup, or offline review.

Importing and Exporting Tasks
Click Filter the List.
Select Import/Export.
Download the task template, fill in your tasks, and re-upload to a project.
Tasks and sub-tasks will automatically be placed in their specified phases.

Task Views
Switch between multiple views to best suit your workflow needs:
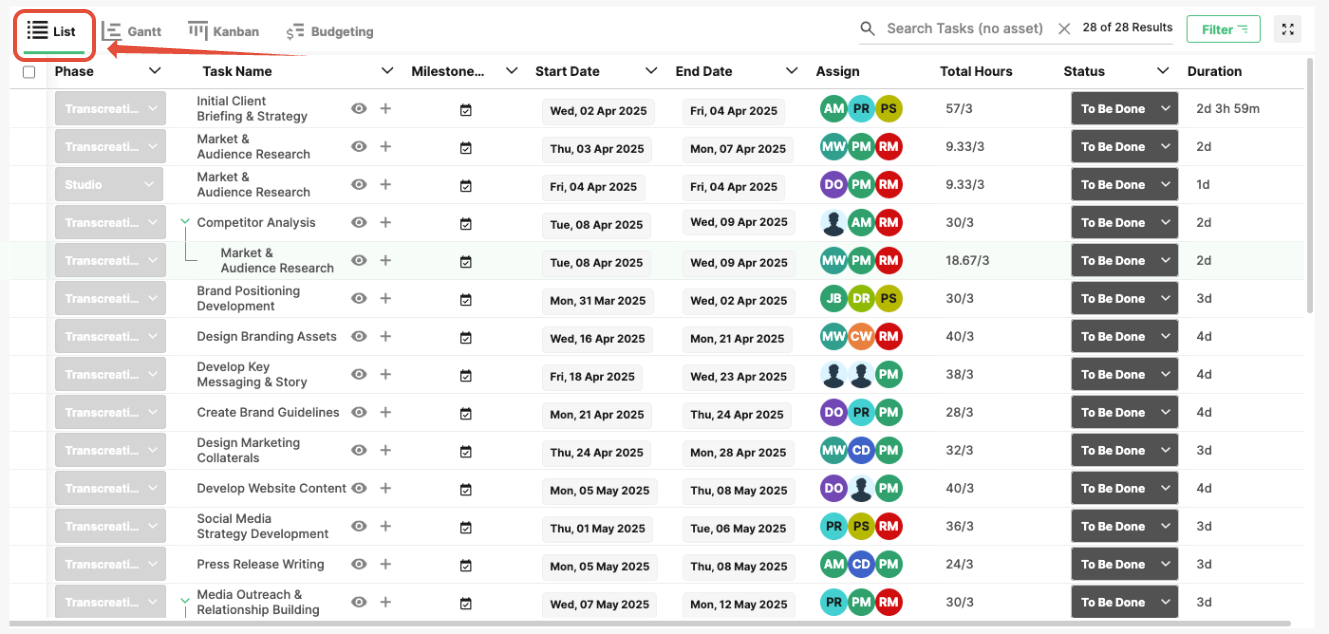
- List View: (Default) View tasks in a sortable list. The default sort order is by Start Date, with the earliest listed first.
- Kanban Phase View: Visualize tasks grouped by phase. Add, edit, and delete tasks inline.

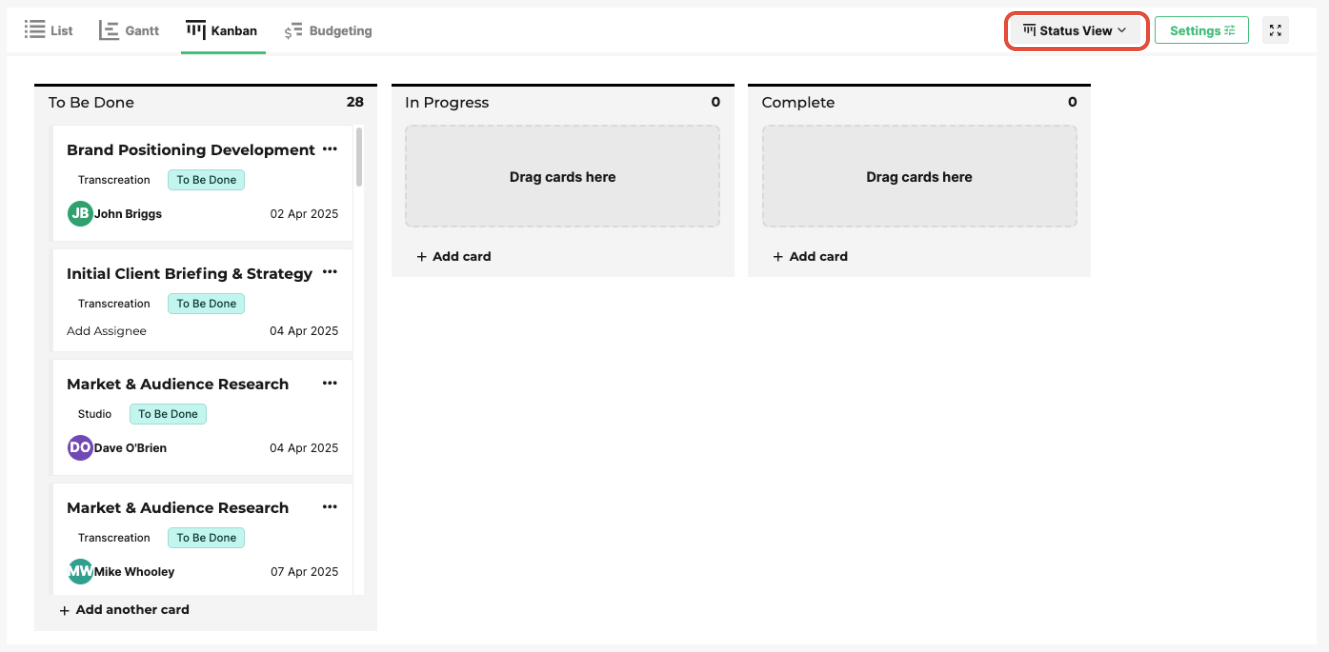
- Kanban Status View: Tasks are grouped by status. Use the Show My Tasks button to filter tasks assigned to you.
- Gantt View: See task timelines and dependencies graphically. Drag and link tasks to set or adjust relationships.

- Resource Budget View: View and edit resourcing, estimates, and timesheets in a monthly grid layout.

Click here for more information on the Resource Budget View
Was this article helpful?
That’s Great!
Thank you for your feedback
Sorry! We couldn't be helpful
Thank you for your feedback
Feedback sent
We appreciate your effort and will try to fix the article